There are many ways you can label a rope, but here is one way that is quite simple and affordable.
Step 1:
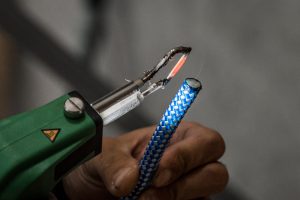
Using a hot knife if possible, cut the rope to the desired length.
Alternatively, if you don’t have a hot knife, tape the section of rope you are going to cut with electrical tape. After that, cut the section of electrical tape in half, this ensure the ends will not fray if you don’t have a hot knife available.
Step 2:
Melt the edges of the newly cut rope to ensure the ends will not fray. Once again, if you don’t have a hot knife you can use a lighter to melt the ends, which are wrapped in electrical tape. Therefore, achieving the same result.
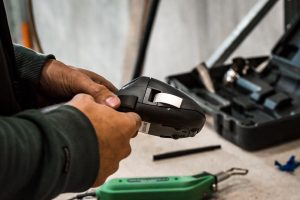
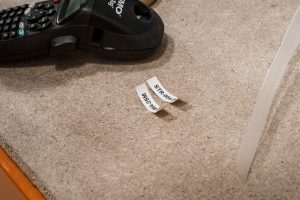
Step 3:
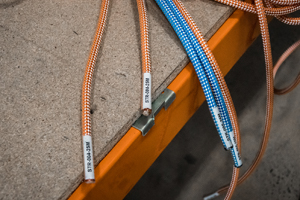
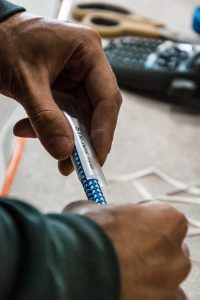
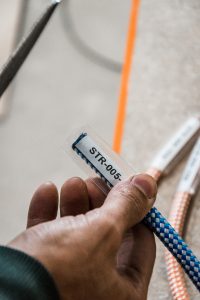
Use a label maker to print out your own labels, include a unique identifier and length. After that, use sticker labels so they stick to the rope when you put them in place.
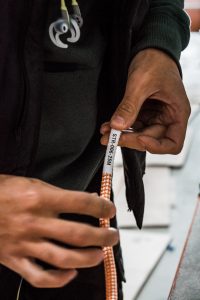
Step 4:
Stick a label to each end of the rope.
Step 5:
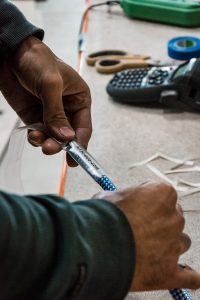
Cut the heat shrink to a size slightly longer than the label. Measure it on the rope with the label attached if needed.
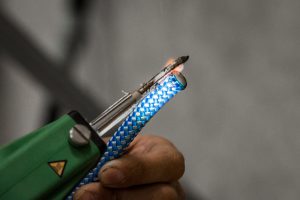
Step 6:
Cut the excess plastic off and push the shrink wrap so it is flush against the end of the rope.

Step 7:
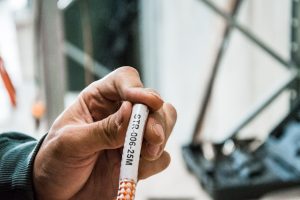
Use a heat gun or lighter to heat the wrap so it shrinks around the label. Start on the side away from the end, heating towards the end of the rope. However, be careful when heating over the label as they are heat sensitive and will darken very quickly if heated too much.

Step 8:
As you heat towards the end of the rope, the small amount of shrink wrap will stick out over top. Press that down with your finger until is cool, it should only take a couple seconds. The shrink wrap will now be sealed around the end of the rope.

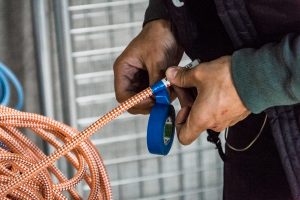
Step 9:
Use electrical tape to seal the other end of the shrink wrap, half on the rope half on the shrink wrap. Two full wraps is usually enough. After that, cut with scissors so it doesn’t bunch up.
Step 10:
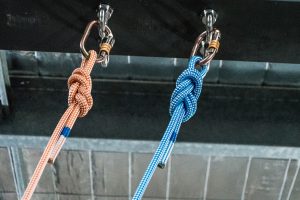
You’re all done! Go out and use your well labelled rope!